< 5 Group Policy Troubleshooting | Home | 7 Securing your Domain >
25: Deploying a Desktop Background to your domain with a GPO
https://www.udemy.com/course/active-directory-group-policy-2012/learn/lecture/8305284#content
Comments
- It is a good idea to create a GPO for each individual thing you want to do.
- Example: Password Policies, Create a GPO called Password Policies and put all your Password related settings in it.
- If all configs are in one GPO, could be impossible to find it later.
Overview
- Create Fileshare
- Put desktop image in Fileshare
- Set Fileshare permissions so all users can access
- Create and configure GPO
- Test & Apply
Procedure
- Create Fileshare
- C:\ [RtClk] > New > Folder > MyShare
- MyShare [RtClk] > Properties > Sharing Tab > Advanced Sharing
- [ x ] Share this folder
- [Permissions]
- Remove ‘Everyone’
- Add ‘Authenticated Users’
- Allow ‘Read’
- [Apply] > [OK]
- [Apply] > [OK]
- Network Path = \\WINAD01\MyShare
- Configure Group Policy Object
- GPM > … > domain.tld [RtClk] > Create a GPO… > Name: Desktop Backgrounds
- Desktop Backgrounds [RtClk] > Edit…
- User Configs > Policies > Admin Templates > Desktop > Desktop > Desktop Wallpaper [DblClk]
- Enable
- Wallpaper Name: \\winad01\myshare\desktop.jpg
- User Configs > Policies > Admin Templates > Desktop > Desktop > Desktop Wallpaper [DblClk]
- Initialize & verify the GPO
- CMD
- gpupdate /force
- gpresult /r
- CMD
- Log out and back in.
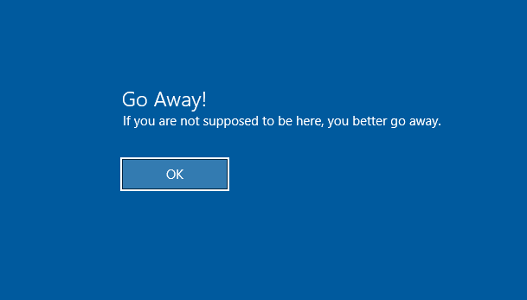
26: Setting up a Logon Banner
https://www.udemy.com/course/active-directory-group-policy-2012/learn/lecture/8385624#content
- Server Manager > Tools > Group Policy Management
- GPM > … > domain.tld [RtClk] > New > GPO and link here > Interactive Logon
- IL [RtClk] > Edit…
- Computer Configs > Polices > Win Settings > Security Settings > Local Policies > Security Options
- Int log: Message title: Set a title “Go away”
- Int log: Message text: “You better go away!”
- Computer Configs > Polices > Win Settings > Security Settings > Local Policies > Security Options
- Init & verify
- Logout login
27: Deploying Software with Group Policy
https://www.udemy.com/course/active-directory-group-policy-2012/learn/lecture/8403550#content
- Create a fileshare
- Remove everyone, add Authenticated Users
- Get fileshare path
- Copy .zip to folder and extract.
- Can install either per user or per computer: computer
- Computer: will require a reboot to install the software
- User: Will install the software every time the user logs into a different computer.
- GPM > … > domain.tld [RtClk] > Create GPO & Link > Name: software_deply_7zip_v1701
- software_deploy… [RtClk] > Edit…
- Comp Configs > Policies > Software Settings [RtClk] > New > Package
- On the ‘Open’ window, Enter the name of the server: \\winad01 [Enter]
- Software [DblClk] > 7z1701 > [Open]
- Deploy Software
- Published (User Configs only): Give user the option to install
- [ x ] Assigned: Installs without modification
- Advance: Allows changes?
- Comp Configs > Policies > Software Settings [RtClk] > New > Package
- Init & Verify
- After init, was asked to reboot. Never verified.
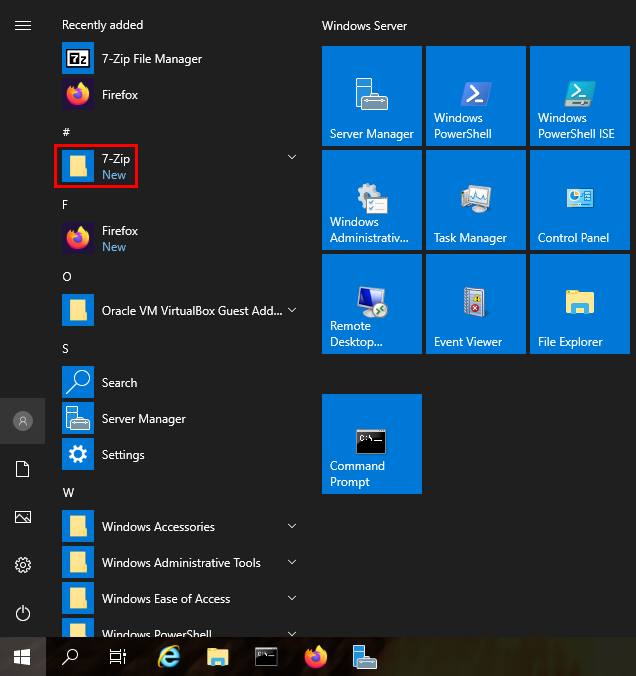
- Validate was installed.
- Click the ‘Windows’ icon in the lower left and see if 7zip was installed.
28: Configure Roaming Profiles for User Accounts
https://www.udemy.com/course/active-directory-group-policy-2012/learn/lecture/8384200#content
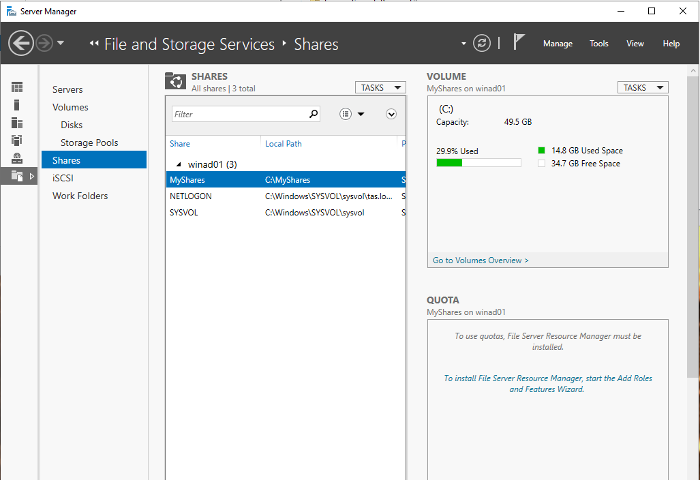
Create shared folder for roaming profiles
- Server Manager > File and Storage Services > Shares
- Inside Shares pane [RtClk] > New Share…
- Select Profile > SMB Share – Quick > [Next >]
- Share Location > Select Server & Drive > [Next >]
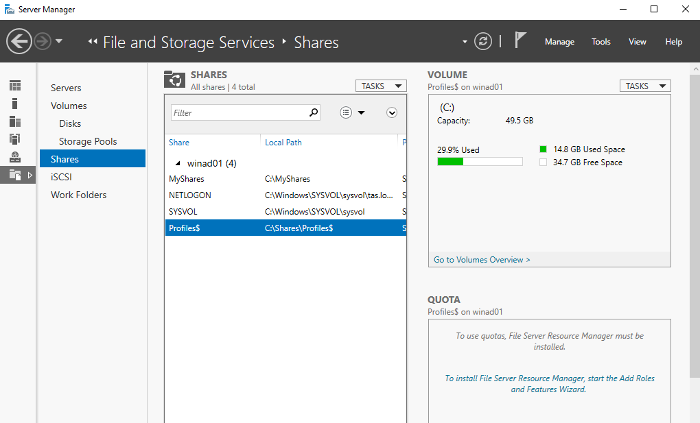
- Share Name > “Profiles$”
- The “$” makes the folder hidden from curious users browsing the system.
- Note the Share path: \\minad01\Profiles$
- Other Settings:
- [ x ] Enable access-based enumeration: Only displays files and folders that user has permissions to.
- Read access minimum
- [ x ] Allow caching of share
- Makes content available offline
- [ x ] Encrypt data access
- [ x ] Enable access-based enumeration: Only displays files and folders that user has permissions to.
- Permissions
- Recommended to remove default users. Must remove inheritance first!
- [Disable inheritance] > Convert inherited permissions into explicit permissions on this object
- This takes the current permissions and creates a special profile just for this share.
- Remove both “Users (domain\Users) > [Apply]
- [Disable inheritance] > Convert inherited permissions into explicit permissions on this object
- Recommended to remove default users. Must remove inheritance first!
- Inside Shares pane [RtClk] > New Share…
- Create a Roaming Profiles group in AD
- AD > … > domain [RtClk] > New > OU > “Domain Groups”
- Domain Groups > New > Group > “Roaming Profile Users”
- [ x ] Global, [ x ] Security
- Add Members to the new group
- Roaming Profile Users [DblClk] > Members tab > [Add…] > (add your users)
- Return to the “Create Share Wizard”
- Add the Roaming Users Group to the share.
Starting from here:
- MyShares [RtClk] > Properties
- Permissions > [Customize permissions…]
- [Add…]
- Select a principal > Search “Roaming” [Check Names] > [ OK ]
- Uncheck all ‘Basic Permissions’
- Show advanced permissions
- [ x ] List folder / read data
- [ x ] Create folders / append data
- Applies to: “This folder only”
- [ OK ]
- [ Apply ]
- Select “Administrators (domain\Admin…)” > [Edit]
- Applies to: “This folder only”
- (All available Basic permissions should be checked)
- [ OK ]
- Verify Permission entries
- Administrator (or CREATOR OWNER?): Subfolders and files only
- SYSTEM: This folder, subs and files
- Administrators: This folder only
- Roaming … : This folder only
- [Apply] [ OK ]
- Should be back on the “New Share Wizard”
- [Add…]
- Permissions > [Next >]
- Confirmation > [Create] > [Close]
- Permissions > [Customize permissions…]
- The Profiles$ folder should now be listed as a share.
- Add the share to each of the users … ??
- AD > … > Domain Groups > “Roaming Profile Users” [DblClk]
- Members tab > [DblClk] Each User
- Profile tab
- User Profile: Profile path = SERVER\path\%username%
- \\WINAD01\Profile$\%username%
- Click [ Apply ] to convert %username% to the actual Username
- [ OK ]
- \\WINAD01\Profile$\%username%
- User Profile: Profile path = SERVER\path\%username%
- AD > … > Domain Groups > “Roaming Profile Users” [DblClk]
- Log into another server and test with that user
- Control Panel > System and Security > System > Advanced system settings
- User Profiles > [Settings…]
- domain\user.name type = Roaming
- User Profiles > [Settings…]
- Create a folder on the desktop and put a fake file in it
- Log out and log in to another server on the domain
- Locate your folder on the desktop and view your file.
- Control Panel > System and Security > System > Advanced system settings
29: How to automatically map network share drives with Group Policy
https://www.udemy.com/course/active-directory-group-policy-2012/learn/lecture/8421550#content
Overview
Create different file shares for different groups and map them with AD/GP then restrict access between groups from accessing the other group’s share.
- Create the Users and Groups
- Engineering Group
- Engineering Guy
- Sales Group
- Sales Guy
- Engineering Group
- Create the Fileshares
- Server Manager > File and Storage Services > Shares > New Share > See above
- Engineering$
- Sales$
- … Advanced Security Settings
- [Disable inheritance] > Convert…
- Remove ‘Users (domain\…)’ 2x
- [Add]
- Permission Entry for Engineering$ / Sales$ > Select a principal > add group
- Basic Permissions
- Read & execute
- List folder contents
- Read
- Write
- [Apply][OK]
- [Next>][Create][Close]
- Repeat for both shares/groups
- Server Manager > File and Storage Services > Shares > New Share > See above
- Test these work with another server…
- Engineering user
- \\SERVER\Engineering$ > Create file
- \\SERVER\Sales$ > Cannot access
- Sales user > Repeat above
- Engineering user
- Automatically Map the drives with Group Policy
- AD Server > AD > … > domain [RtClk] > New > Shared Folder
- Name: Engineering$/Sales$
- Network Path:\\SERVER\Eng$ or Sales$
- GPM > … > domain [RtClk] > Create new GPO and link > ‘$group’ mapped drive
- … mapped drive [RtClk] > Edit…
- User Configs > Preferences > Windows Settings > Drive Maps [RtClk] > New > Mapped Drive
- …
- Remove ‘Authenticated User’ and add ‘$group’
- Add Read Only Permissions for Authenticated Users
- This only allows Authenticated Users to read the GPO, not the mapped drive!
- $group mapped drive > Delegation tab > [Add] > Authen… > [OK]
- Add Group or User > Permissions: Read > [OK]
- … mapped drive [RtClk] > Edit…
- I ‘think’ I had to run gpupdat on the user’s workstation and restart to get this to work, but it did!
- AD Server > AD > … > domain [RtClk] > New > Shared Folder